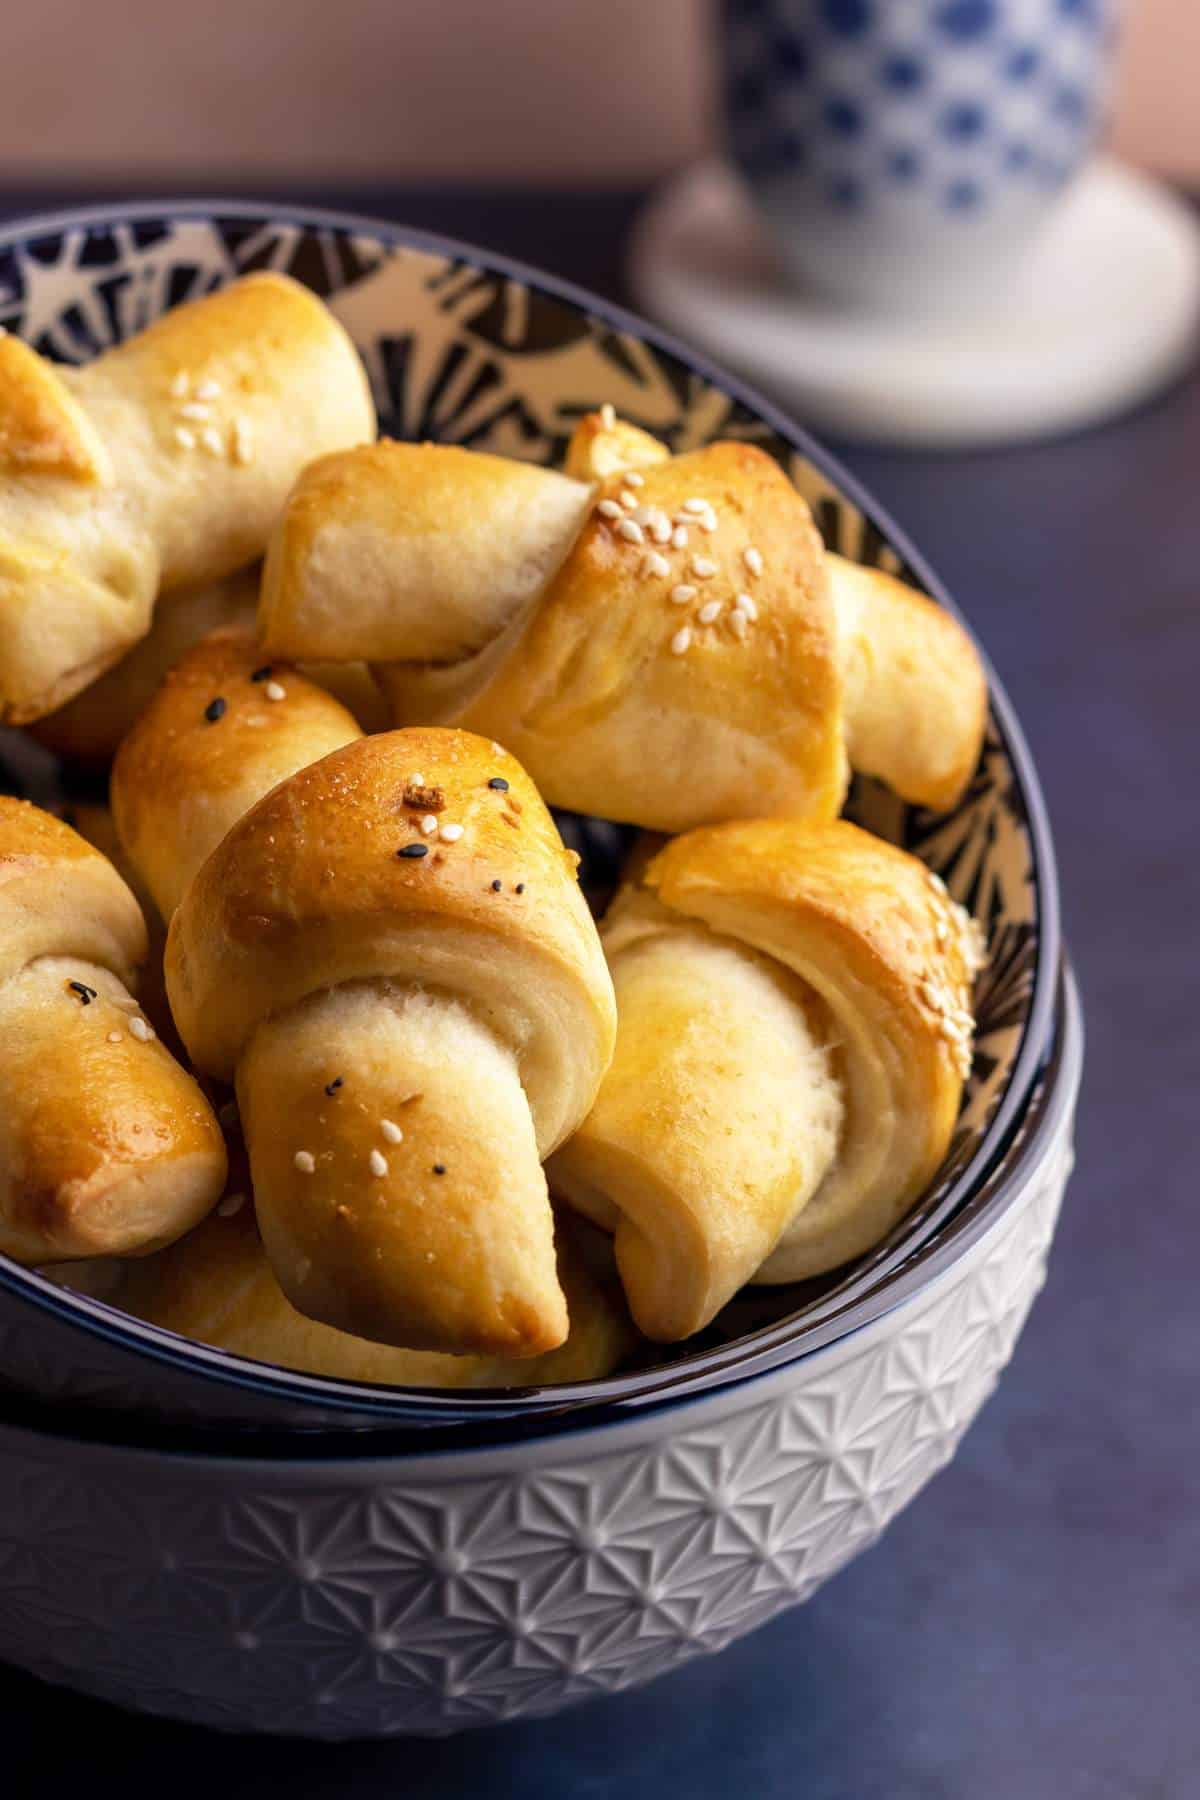
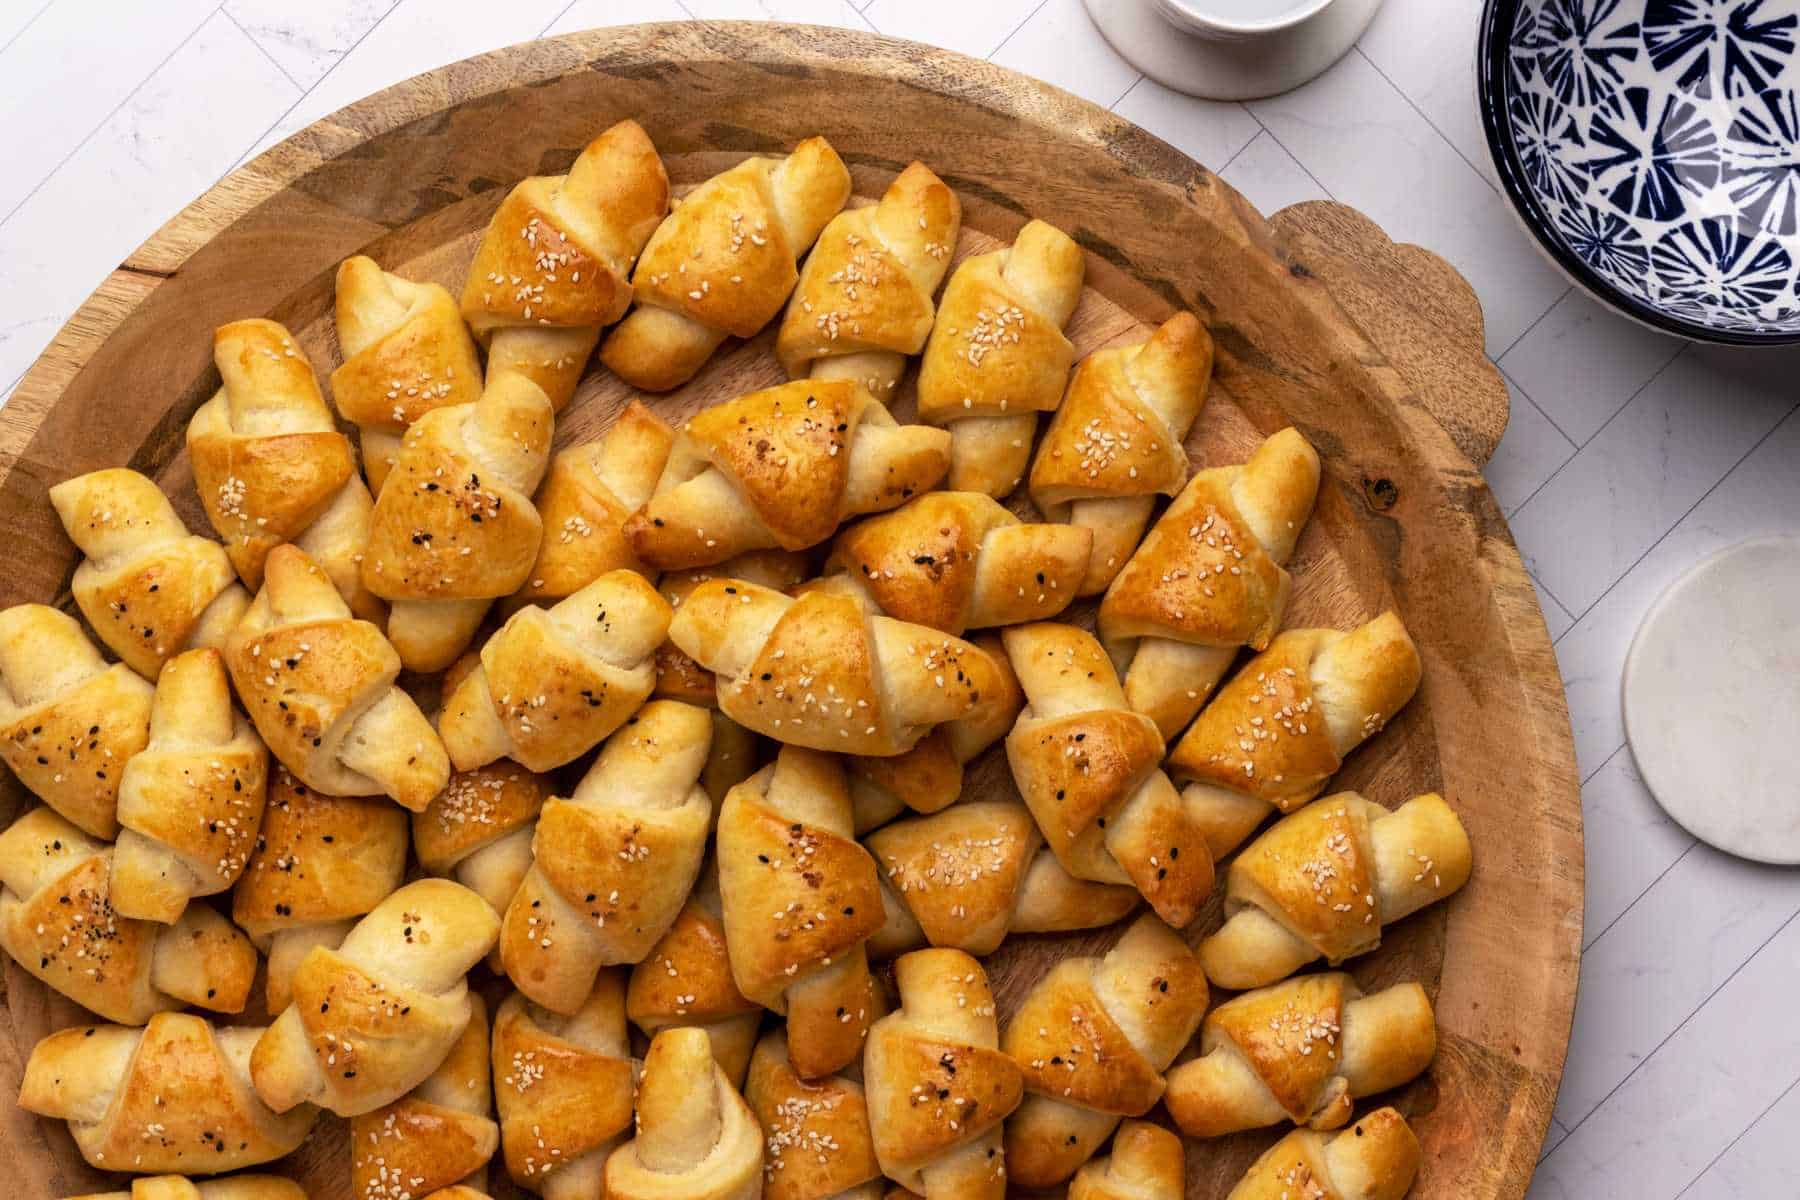
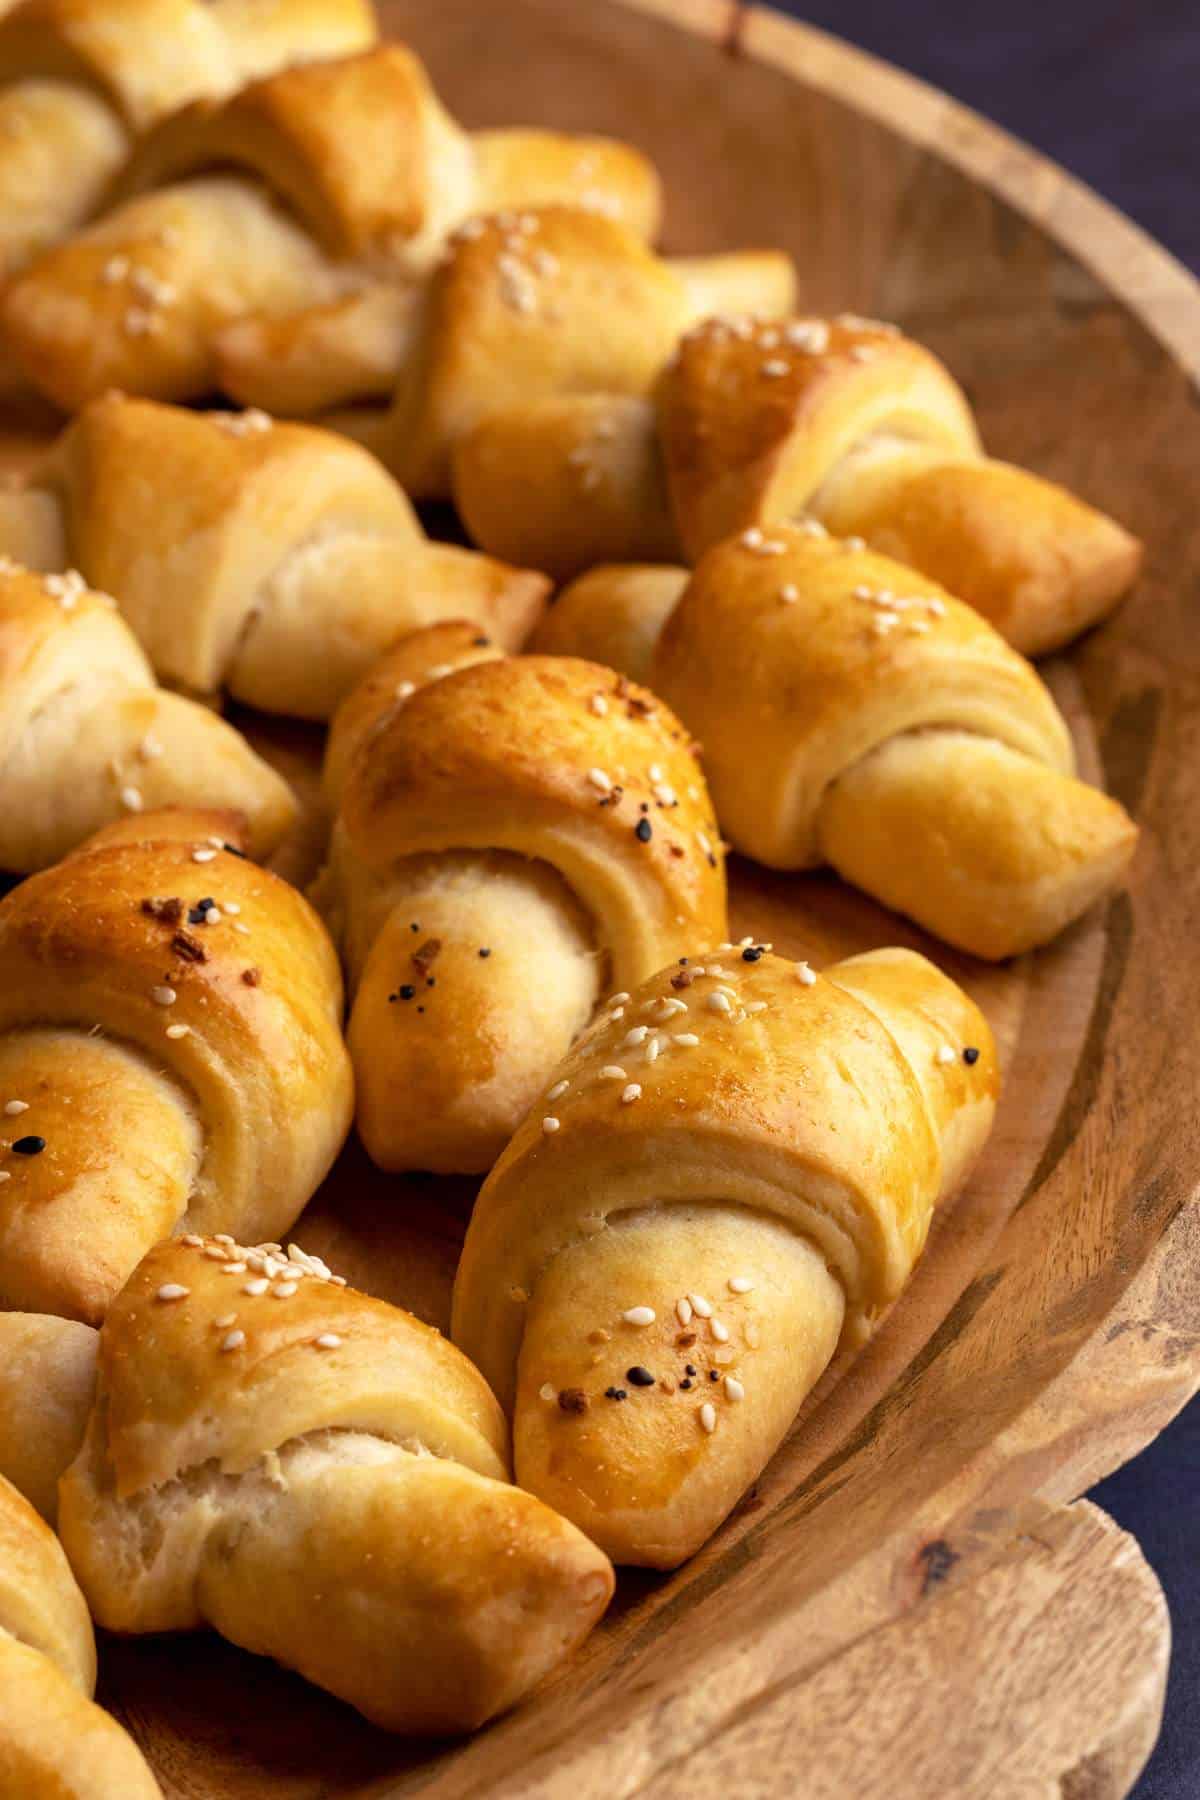
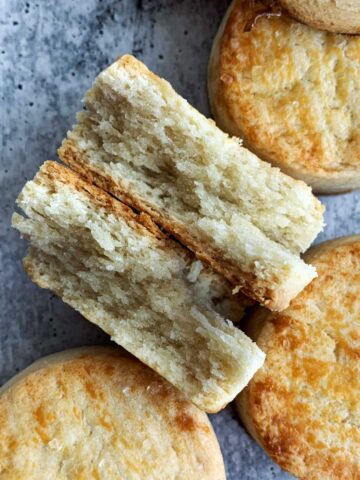
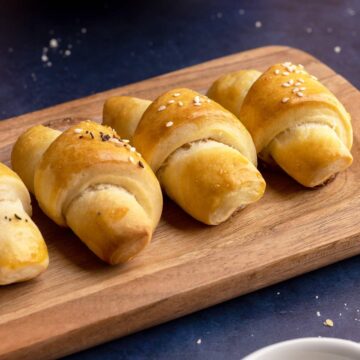
These easy yeast rolls for beginners are perfect for any occasion. With the beautiful crescent shape, simple ingredients, and easy preparation, you will have the most delicious, buttery, and flaky rolls!
If I love one thing, then that’s the smell of freshly baked yeast crescent rolls. One of my mom’s coworkers makes these repeatedly, and everyone loves them so much.
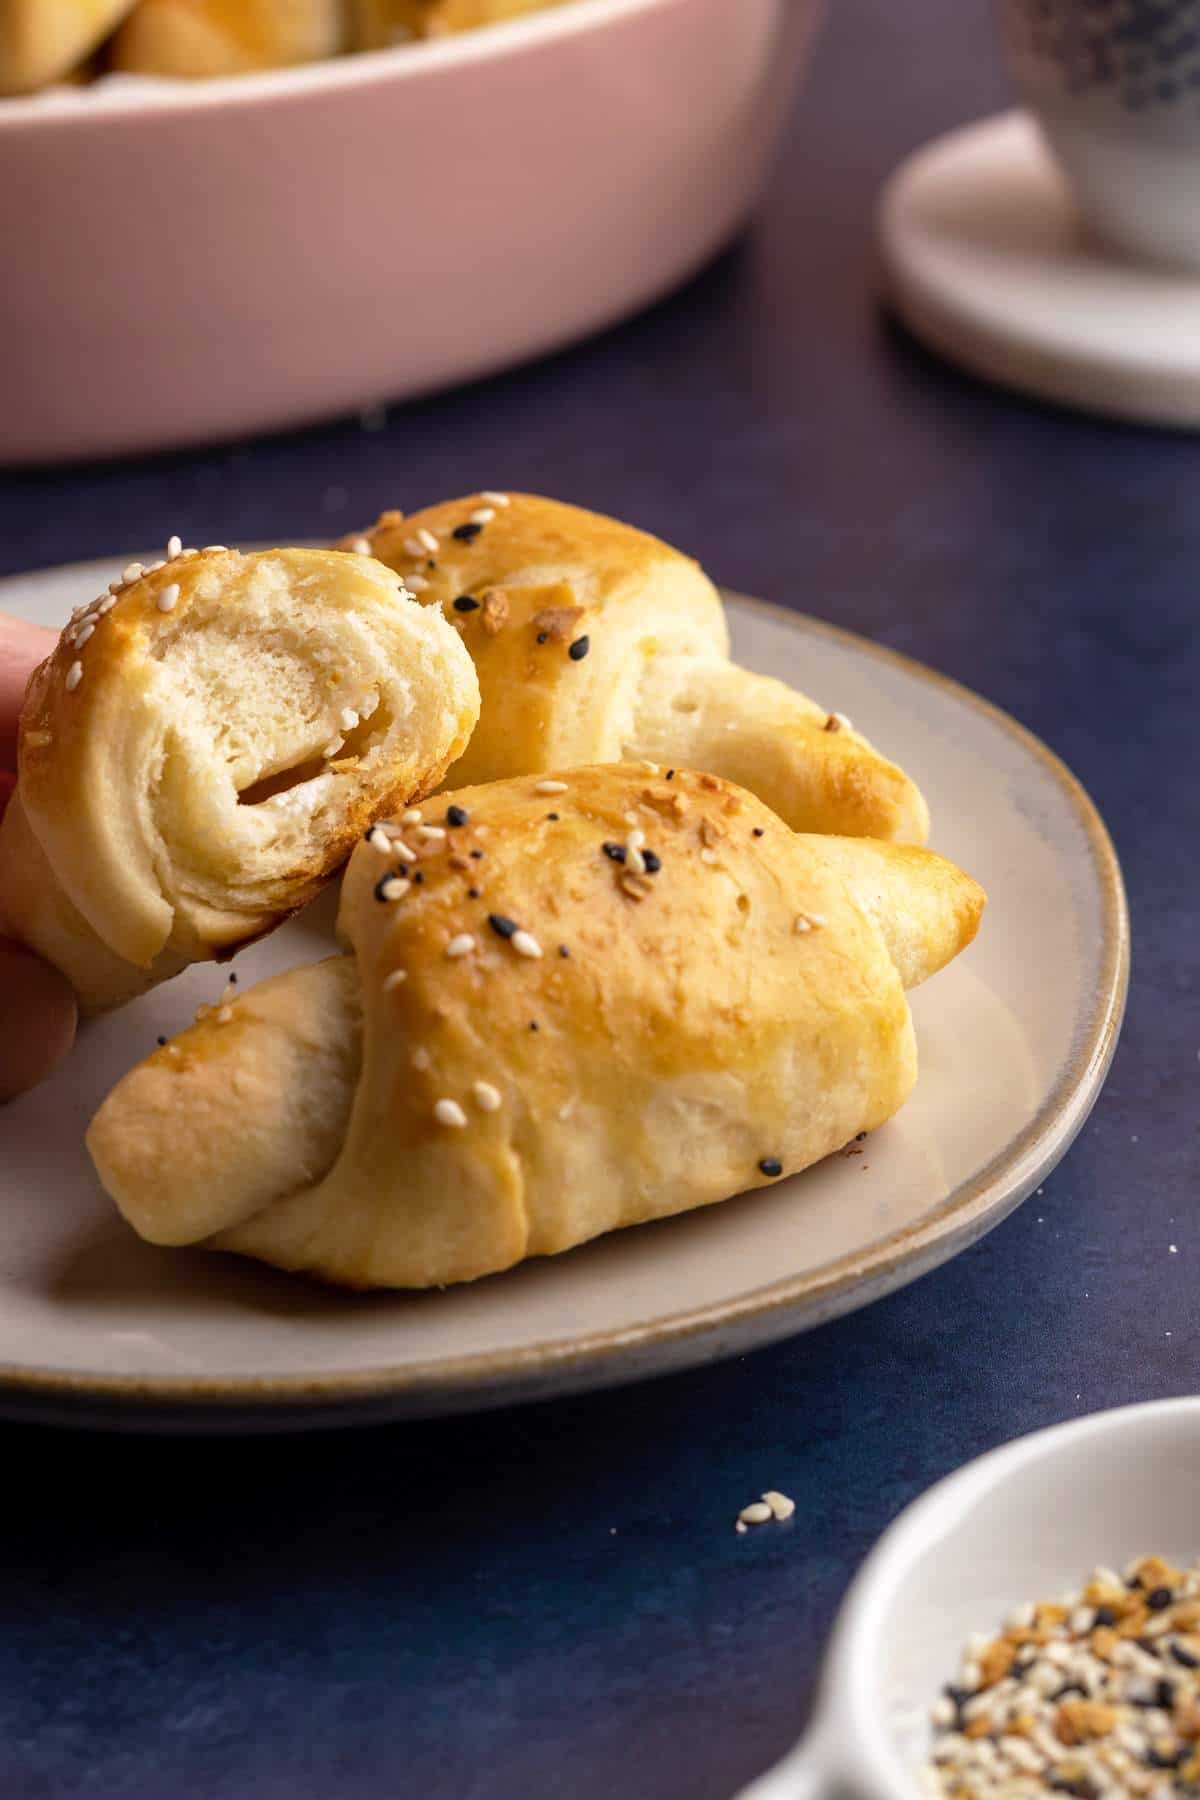
These never-fail yeast rolls are fool-proof, and with my detailed instructions and tips and tricks, you will have the best yeast rolls in no time!
Try some delicious cornbread muffins or homemade crescent rolls if you want new appetizer ideas. They’re both a great addition to any party or gathering and will impress your guests with their homemade taste. Give them a try and see for yourself!
Jump to:
Ingredients

- Milk: I used whole milk for this recipe. We need warm milk to activate the yeast.
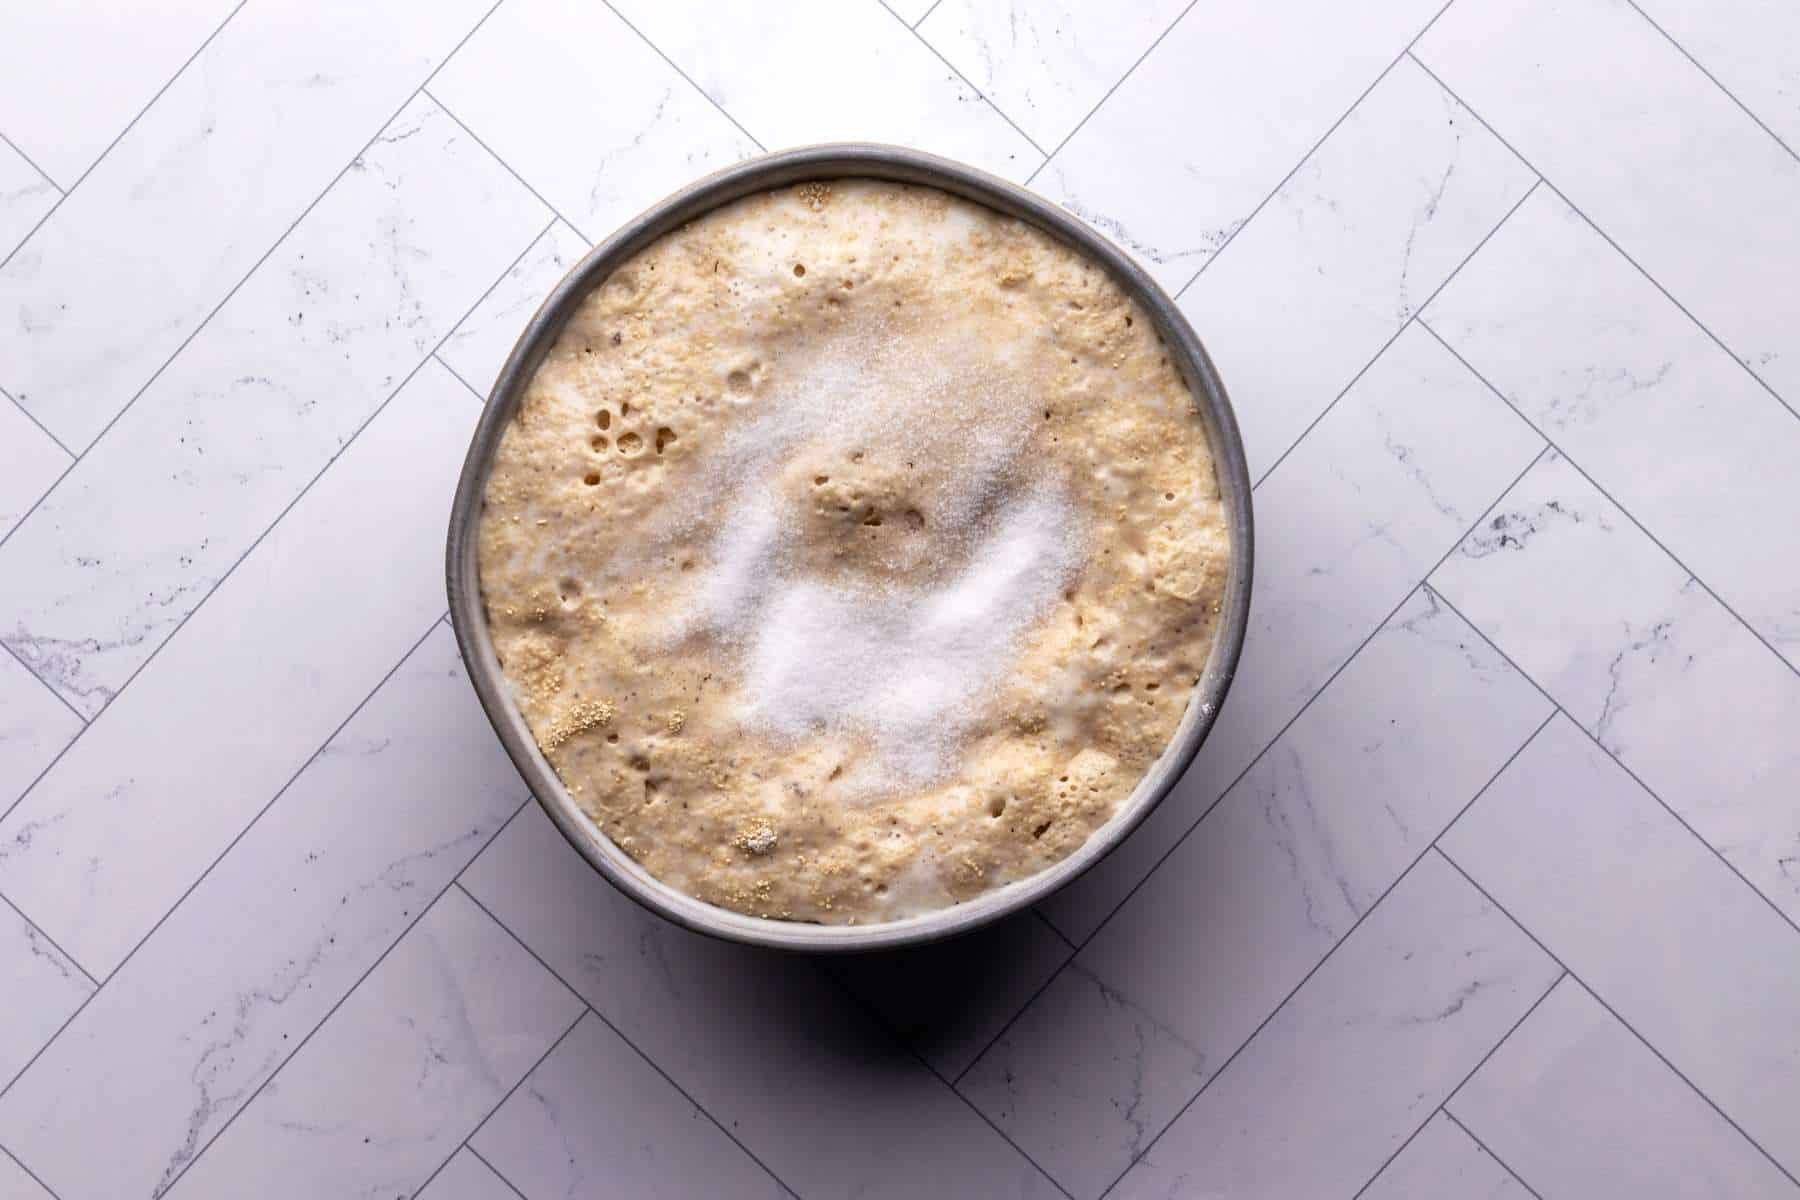
- Yeast: I used active dry yeast for this recipe. This yeast requires activation of the yeast, which means that when you mix the yeast and liquid (in this case milk), sugar, and a little bit of flour, the mixture becomes frothy in 10 minutes.
- Sugar: We need just a couple of teaspoons of granulated sugar to help activate the yeast.
- Salt: We need a couple of teaspoons of salt to add flavor.
- Oil: I used canola oil. It will help bind the ingredients together.
- Flour: I used all-purpose flour for this recipe.
- Butter: For this recipe, we need unsalted butter. The butter will add flavor and flakiness to the rolls.
- Sour Cream: I added a little bit of sour cream to add softness to the rolls.
- Egg: We need one beaten egg to brush the rolls for that beautiful golden top.
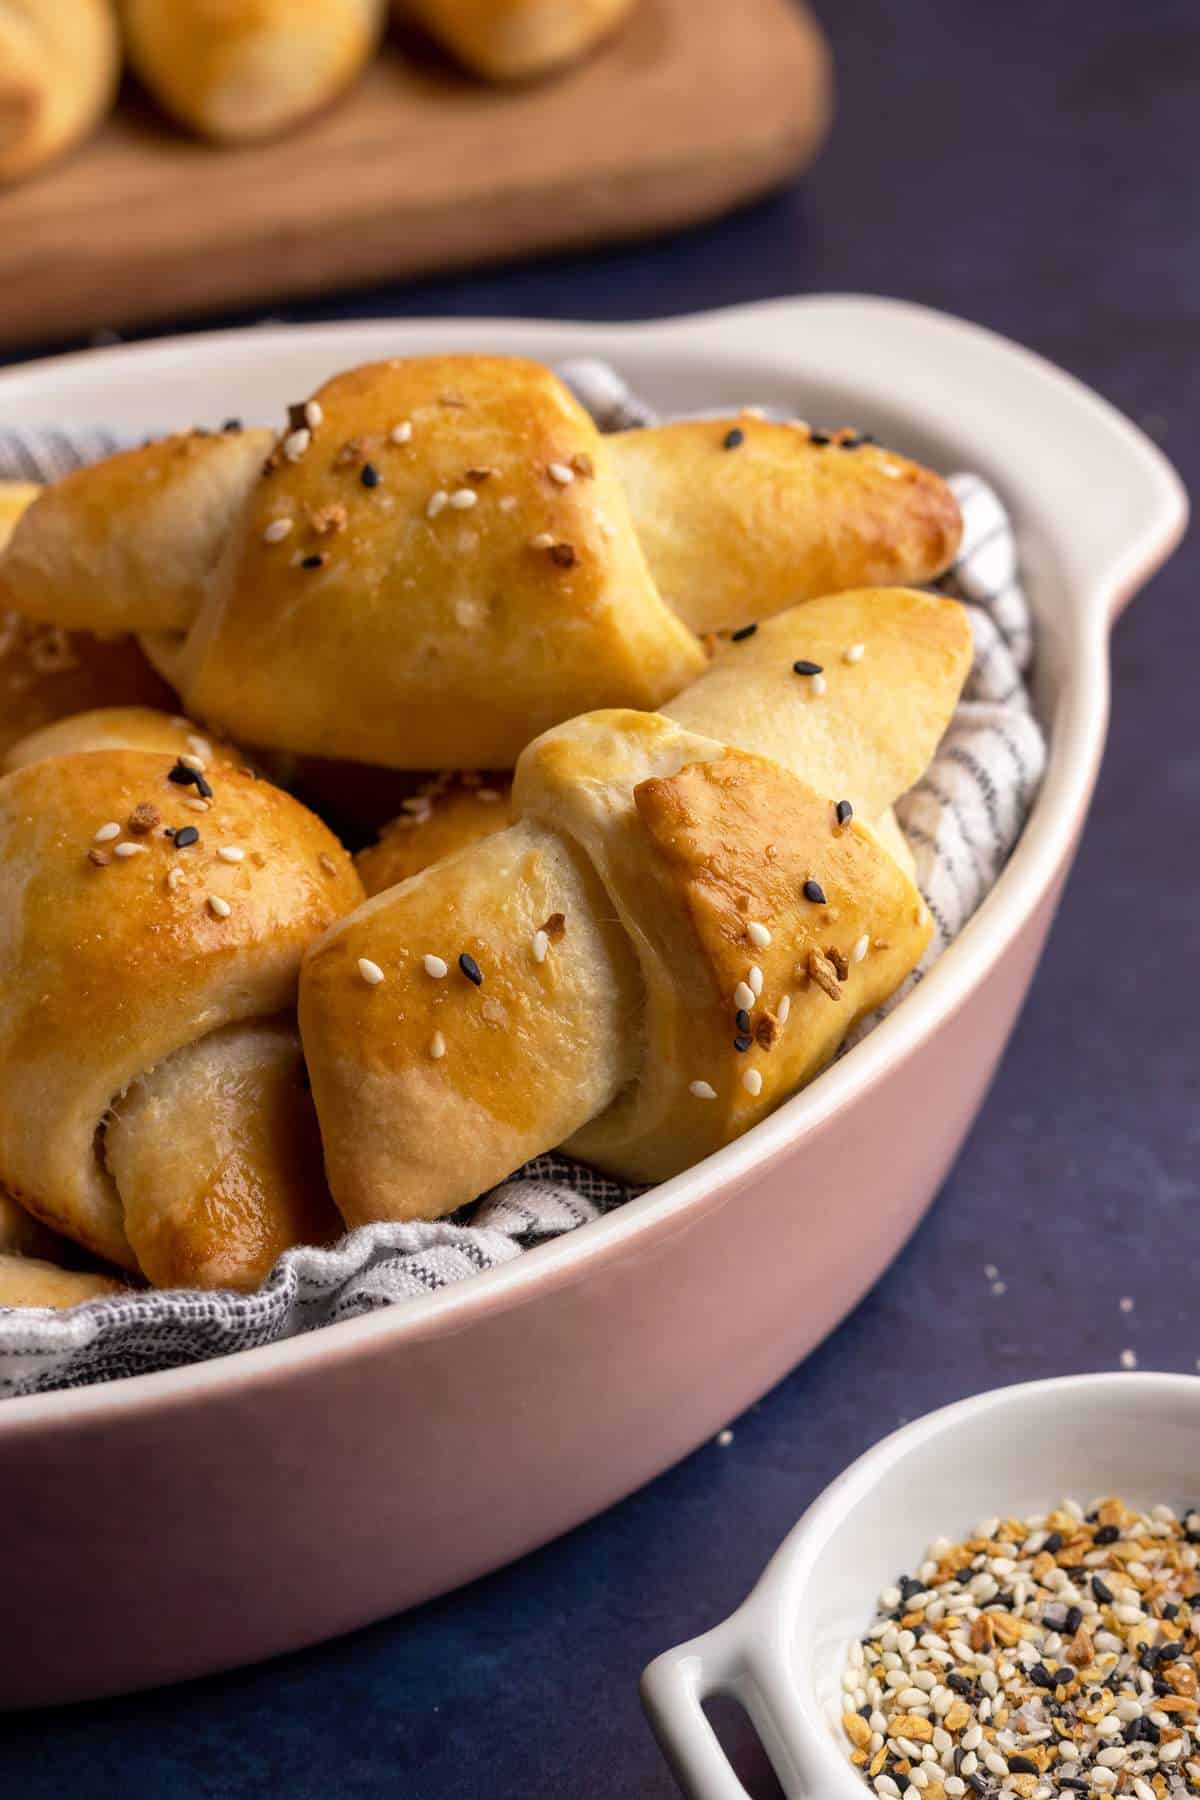
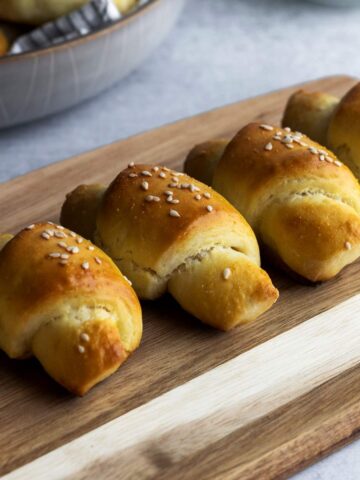
- Sesame Seeds: I added sesame seeds on the first batch of yeast rolls to add some flavor and texture.
- Everything Bagel Seasoning: I added everything bagel seasoning for the second batch of yeast rolls.
See recipe card for quantities.
Activation of the Yeast
Activation of the yeast refers to mixing the warm milk, yeast, granulated sugar, and a little bit of flour. This is a crucial step for this recipe. By activating the yeast, you are ensuring that the dough will rise. If the yeast does not become foamy after 10 minutes, throw it away and start over.
If you are using instant dry yeast, the activation of the yeast is not necessary.
Instructions
By following these easy steps, you will have the flakiest and buttery crescent rolls for beginners:
- Activate the yeast.
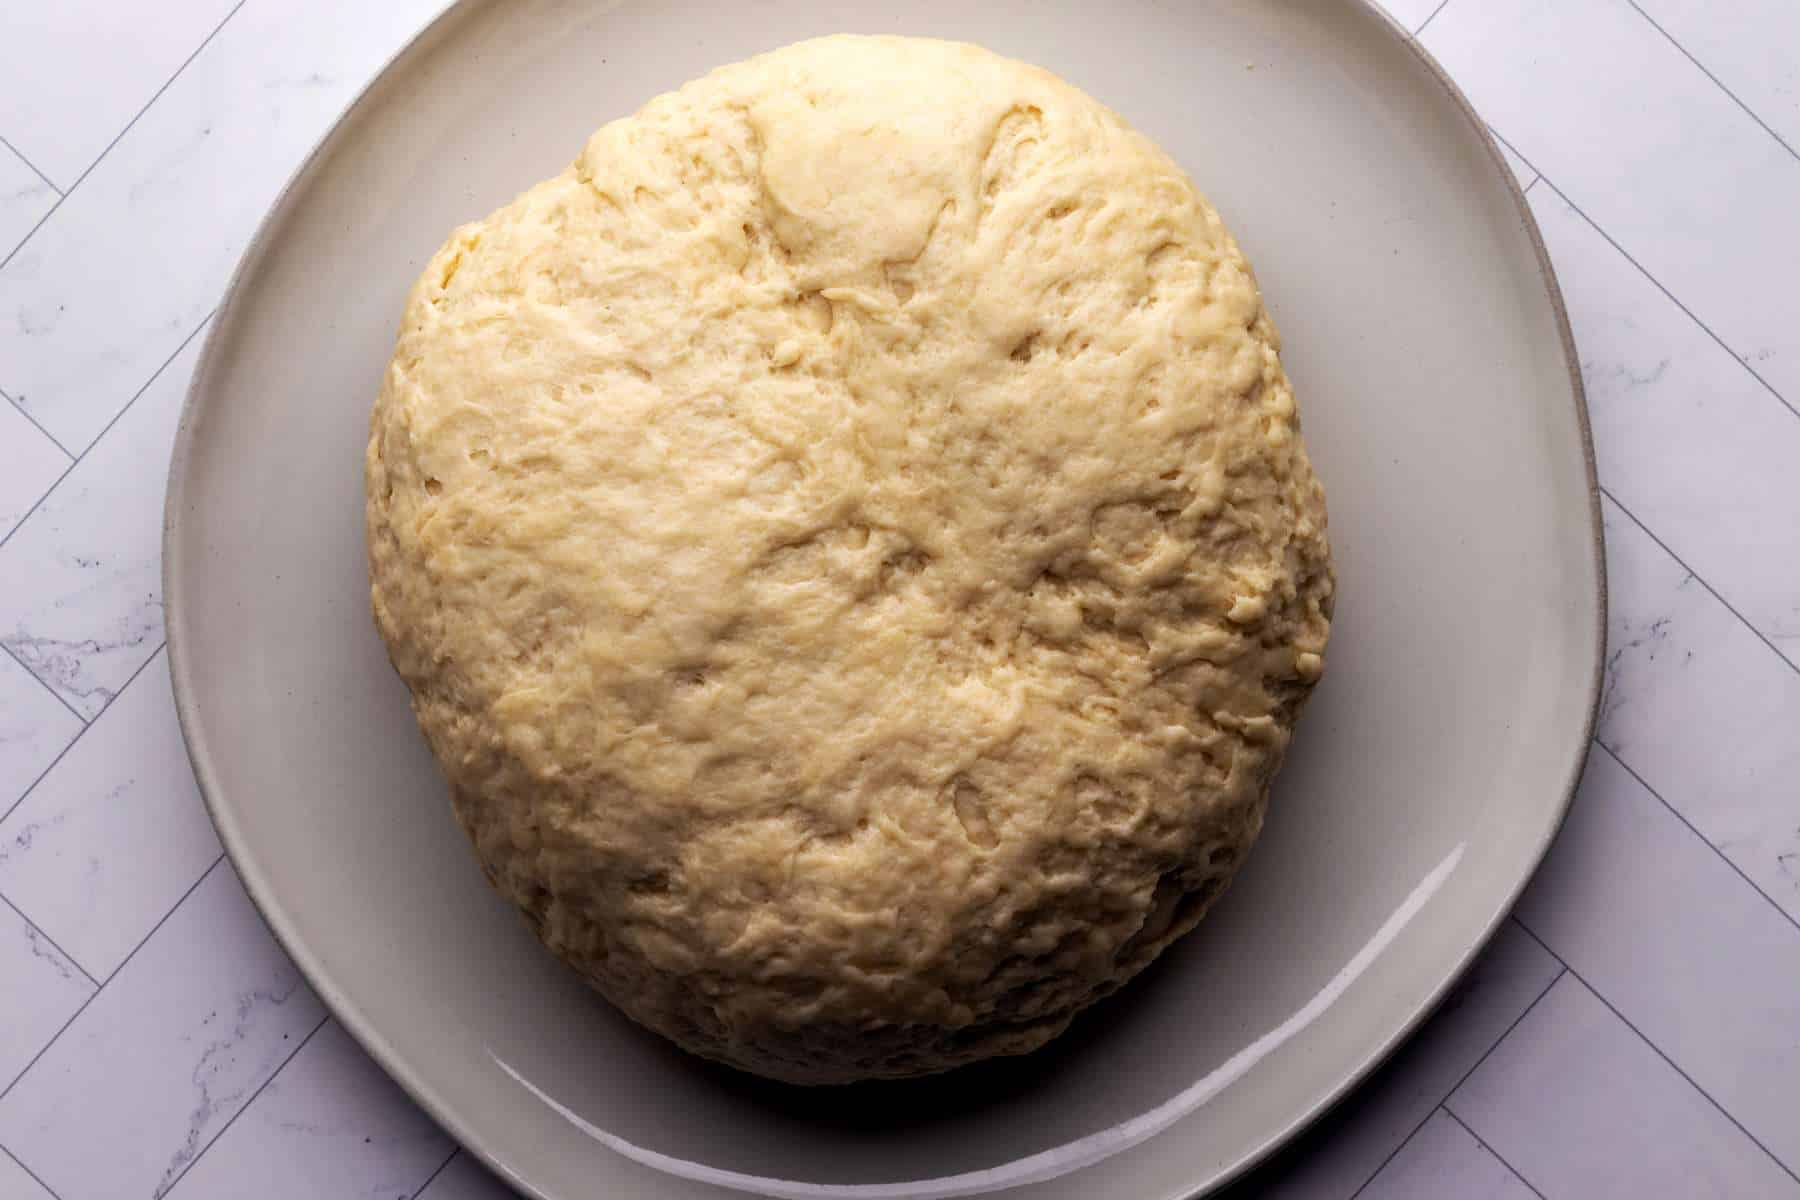
- Knead the dough.
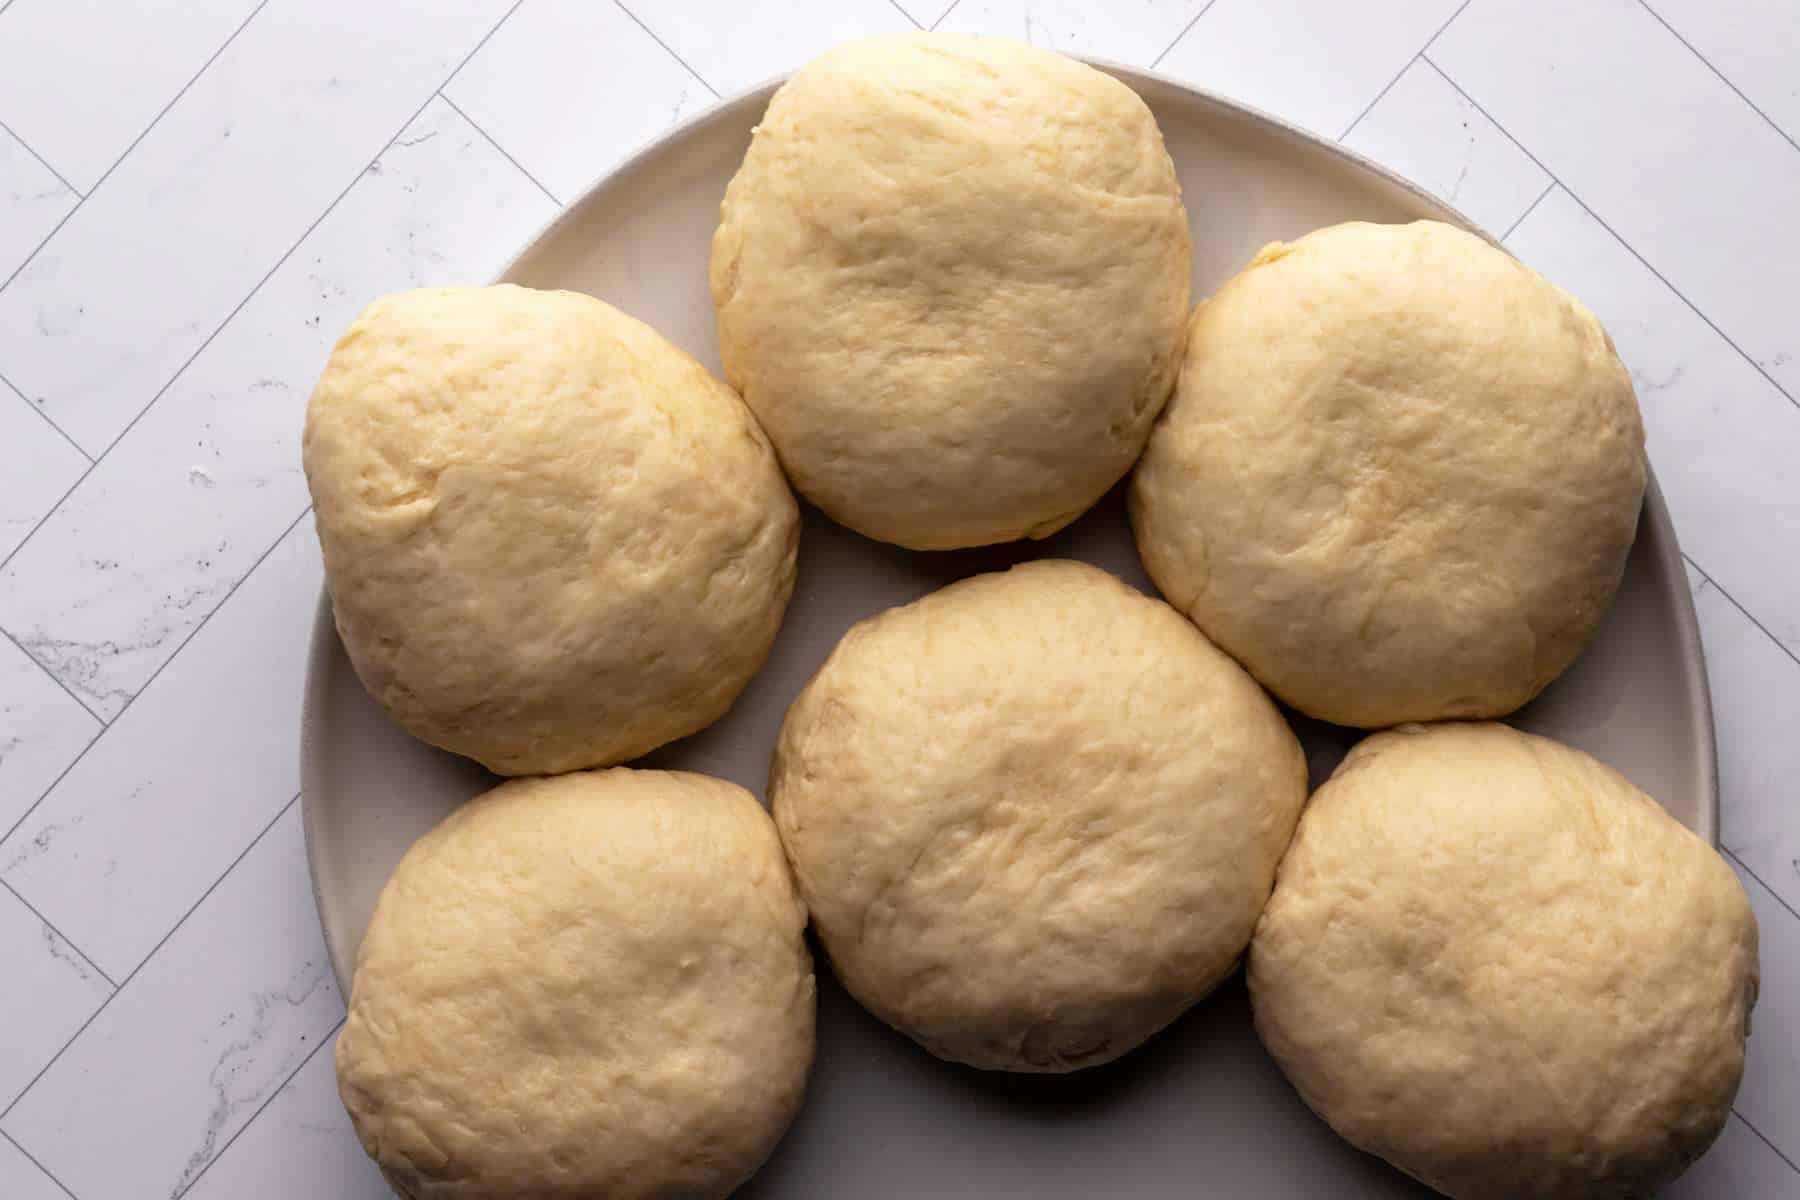
- Divide into six more petite dough balls.
- Roll into 10-11 inch circles. Cut into eight equal triangles.
- Add butter and sour cream.
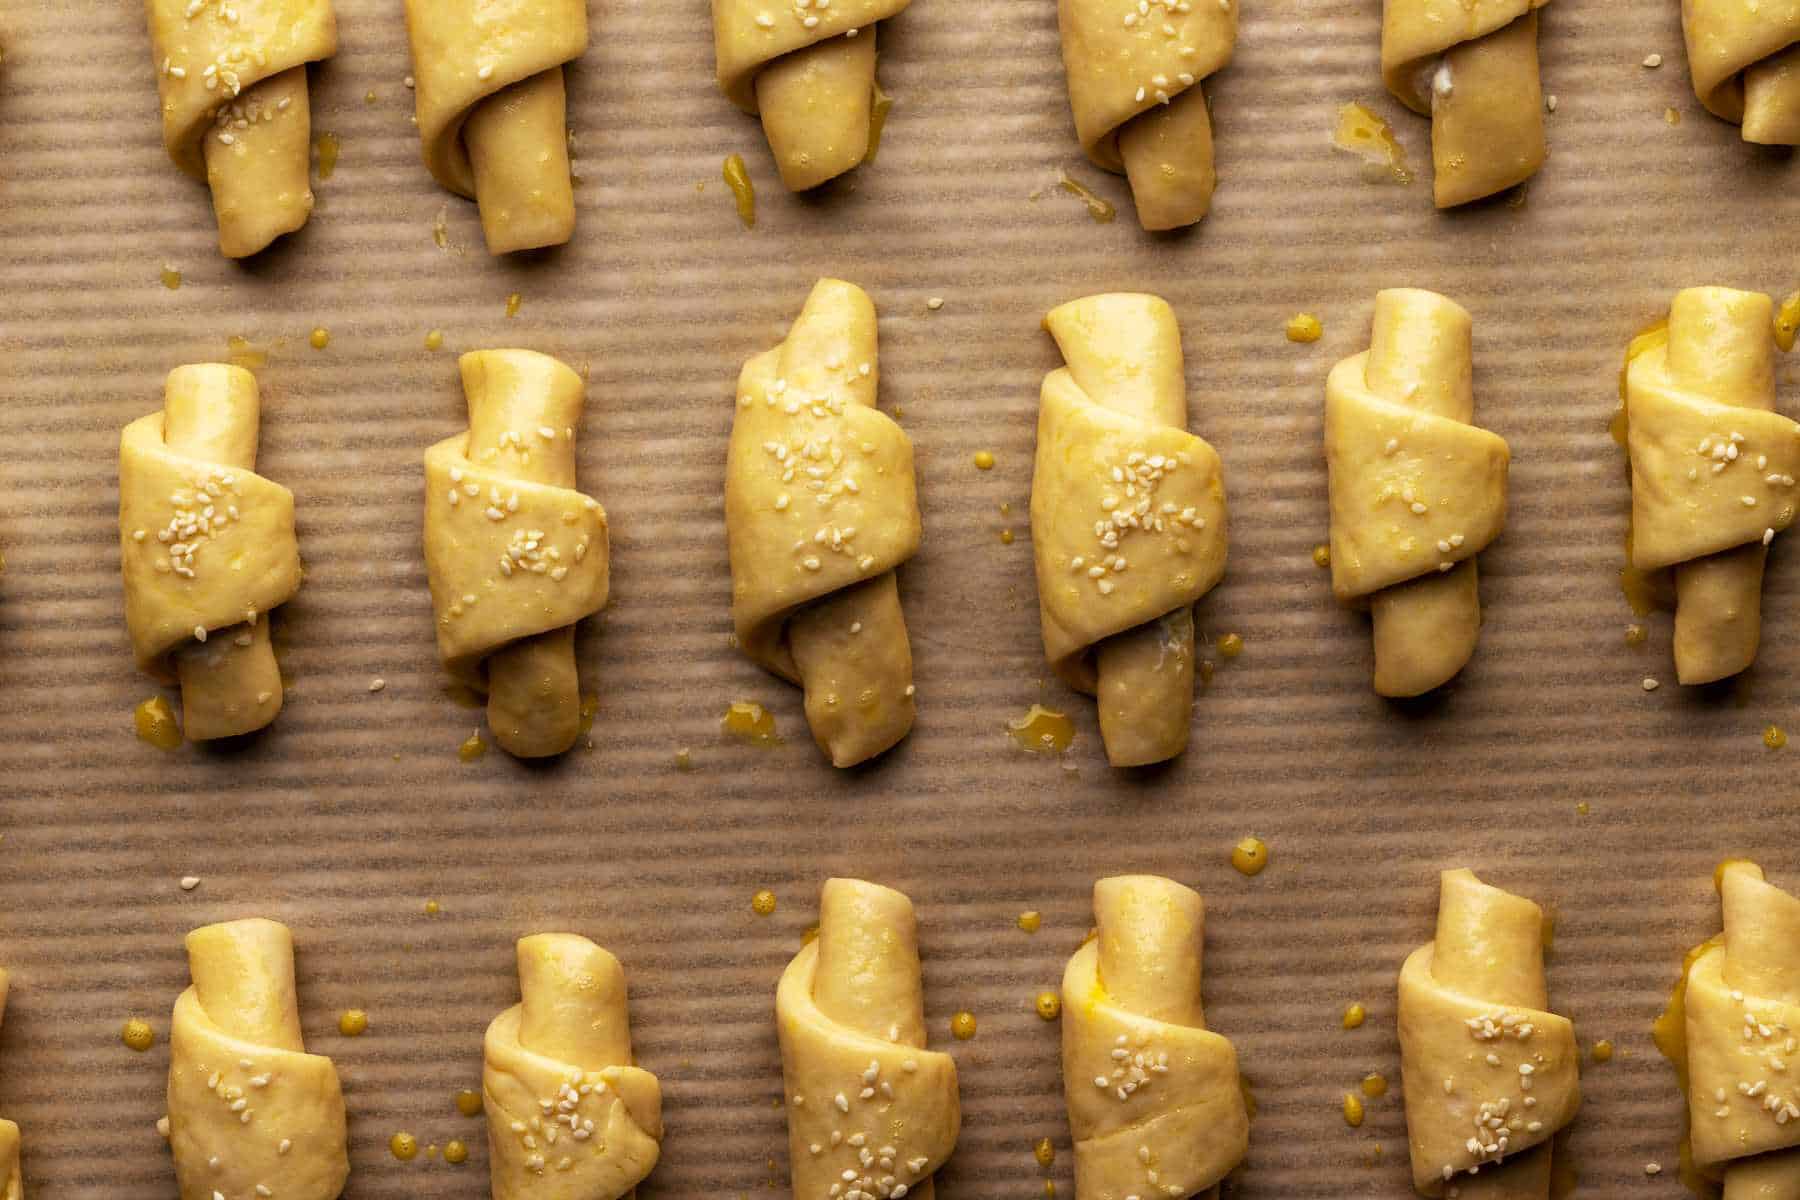
- Shape the crescent rolls and let rest for 10 minutes.
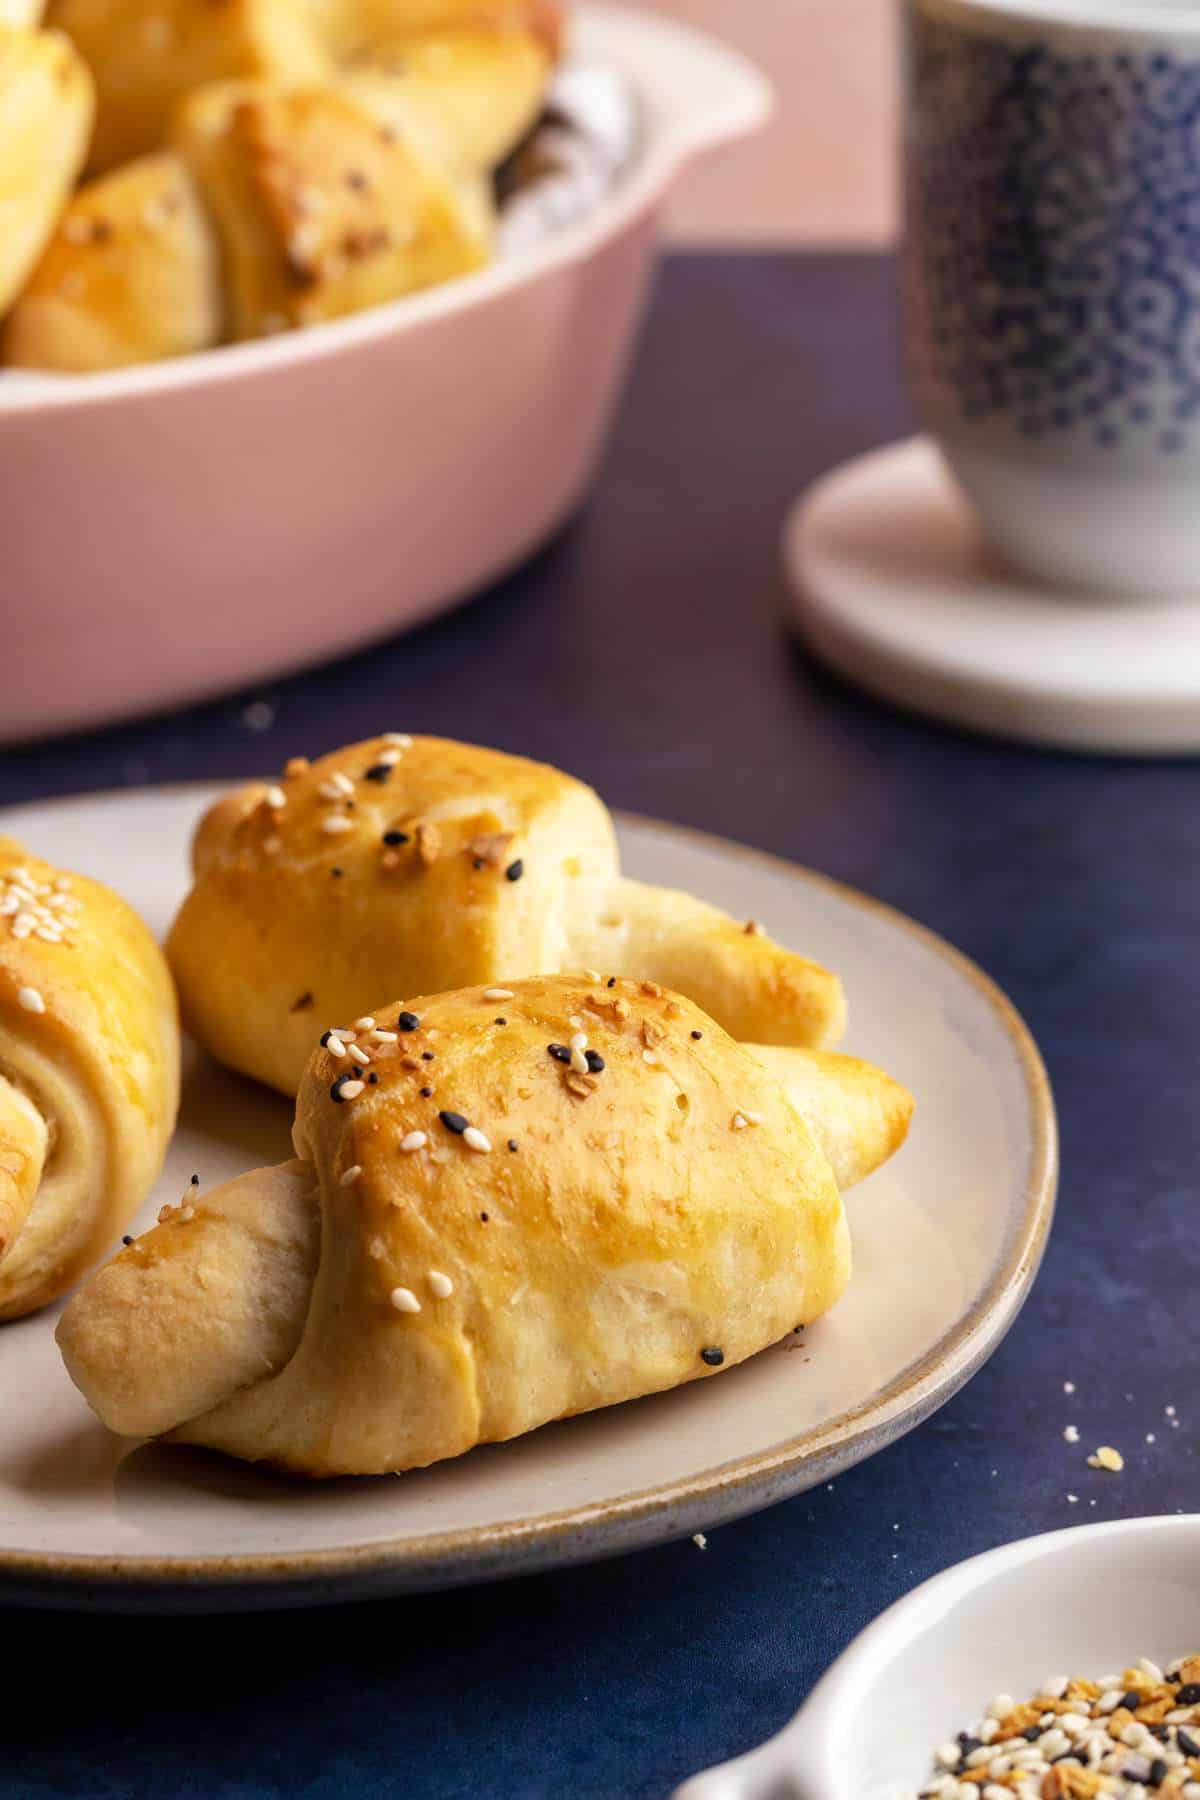
- Brush the rolls with beaten egg and sprinkle with sesame seeds or everything bagel seasoning.
- Bake and serve immediately.
Proofing the Rolls
These rolls don’t require a long proofing time. After shaping the crescent rolls, you will leave them to rest for 10 minutes and then brush with beaten egg and sprinkle with sesame seeds.
Expert Tips and Tricks
- Activate the yeast: I can’t stress this enough. If you don’t activate the yeast, the rolls won’t rise, and the dough will not be flaky and puffy.
- Don’t over-knead the dough: The dough will need just a few minutes of kneading. If you over-knead the dough, it will be dense once baked.
- Make the rolls as equal as possible: To ensure even baking, make the rolls as similar in size as possible.
- Tuck the dough triangle ends to prevent unrolling: Place the crescent roll with the narrow end of the triangle at the bottom when placing the rolls onto the parchment-lined baking sheet.
- Brush the dough triangles with a little bit of water to prevent dough unrolling: To even further prevent unrolling the rolls, when forming the crescent rolls, brush a little bit of water at the narrow point of each triangle.
- Don’t overfill the rolls: A little bit of butter and sour cream will make the rolls soft and tasty.
Variations
- Kielbasa sausage: Want to add meat? Kielbasa sausage is an excellent choice. Add a small piece to each roll.
- Mozzarella cheese: Want to make it cheesy? Add a little bit of mozzarella cheese to each roll.
How to Serve
These easy yeast rolls are the perfect addition to any dinner. I mean, who does not like homemade buttery crescent rolls?
Storage
Store in an air-tight container for up to 2 days. You can eat them at room temperature or heat them on a low setting in the oven.
More Side Dishes You’ll Love
- Simple Oven Roasted Potatoes
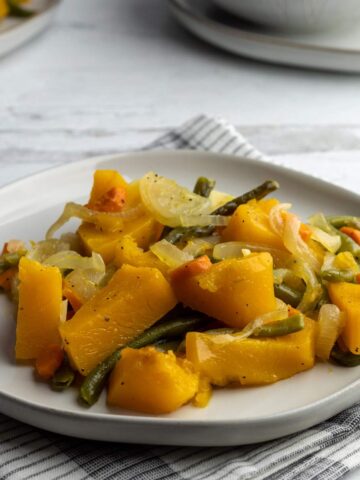
- Baked Butternut Squash
- Easy Savory Cornbread
- Creamy Mashed Potatoes
- Stuffed Bell Peppers
Related
Looking for other recipes like this? Try these:

Recipe
Easy Yeast Rolls for Beginners
Ingredients
Rolls dough
- 2 ¼ cup whole milk (500ml)
- 4 ½ teaspoon active dry yeast
- 2 teaspoon granulated sugar
- 1 cup canola oil (2dl)
- 2 teaspoon salt
- 2.2 lb all-purpose flour (1kg)
- 6-8 tablespoon unsalted butter
- ⅓ cup sour cream
For brushing the rolls
- 1 egg (beaten)
- sesame seeds
- everything bagel seasoning
Instructions
- Add warm milk, yeast, sugar, and a little flour to a medium-sized bowl. Stir it, cover it with a kitchen towel, and set it aside for 10 minutes.
- Transfer the yeast mixture to a large bowl and add salt and oil. Then add flour gradually and start mixing the dough with a spatula and then with your hands. Work the dough until the ingredients get incorporated.
- Transfer the dough onto the lightly floured surface and knead the dough for a minute. The dough should be soft and slightly sticky to the touch.
- Divide the dough into six equal pieces. Shape each piece into more petite dough balls.
- Take one piece and roll the dough into a 10–11-inch circle. Then, cut the circle into eight equal triangles with the pizza cutter or knife. Add a bit of butter and half a teaspoon of sour cream to each triangle.
- Roll each triangle into the crescent roll and place it onto the oversized parchment-lined baking sheet. Repeat the process with the remaining triangles.
- You will end up with two batches of rolls – each baking sheet will have 24 crescent rolls. Let the rolls sit for 10 minutes.
- Preheat the oven to 400 Fahrenheit.
- Beat the egg and brush the rolls. Then sprinkle the sesame seeds or everything bagel seasoning.
- Bake for 20-22 minutes, or until golden on top. Serve immediately. Enjoy!
Notes
- I baked the first batch of rolls for 22 minutes, and the second batch I baked for 20 minutes.


Leave a Reply